Hyundai Elantra: Automatic Transaxle Control System / Shift Lever Repair procedures
Hyundai Elantra AD (2016-2020) Service Manual / Automatic Transaxle System / Automatic Transaxle Control System / Shift Lever Repair procedures
| Removal |
| 1. |
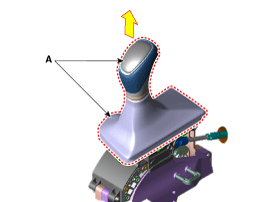
Pull the knob (A) in the direction of "F" and remove the knob.
|
| 2. |
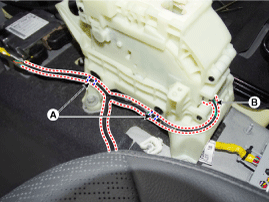
Disconnect the connector (B) from the shift lever. |
| 3. |
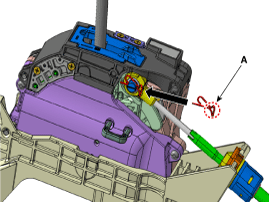
Disconnect the fixing clip (A) of wiring.
|
| 4. |
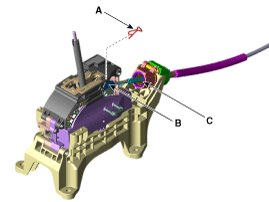
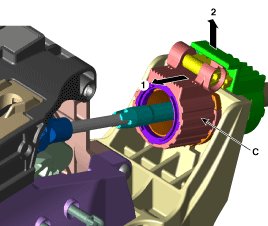
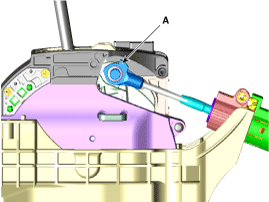
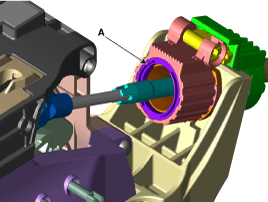
Disconnect the shift cable.
|
| 5. |
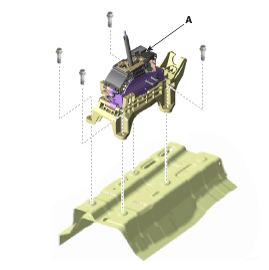
Remove the bolts and then shift lever assembly (A).
|
| Installation |
| 1. |
To install, reverse the removal procedure.
|
 Shift Lever Components and Components Location
Components Location
1. Shift lever knob & boots2. Shift lever assembly3. Shift cable4. Manual control lever5. Shift cable retainer6. Snap pin
...
 Shift Cable Components and Components Location
Components Location
1. Shift lever knob & boots2. Shift lever assembly3. Shift cable4. Manual control lever5. shift cable retainer6. Snap pin
...
Other information:
Hyundai Elantra AD (2016-2020) Service Manual: Specifications
Specifications
ContentValueAFLSNominal VoltageDC 13.5VMax VoltageDC 18.5VRated VoltageDC 10~16VOperating Temperature-40°C ~ +85°COperating CurrentMAX. 200mA
...
Hyundai Elantra AD (2016-2020) Service Manual: Engine Coolant Temperature Sensor (ECTS) Description and Operation
Description
Engine Coolant Temperature Sensor (ECTS) is located in the
engine coolant passage of the cylinder head for detecting the engine
coolant temperature. The ECTS uses a thermistor whose resistance changes
with the temperature.
The electrical resistance of the ECTS decreases as the ...
© 2018-2026 www.helantraad.com

