Hyundai Elantra: Rear Door / Rear Door Trim Repair procedures
Hyundai Elantra AD (2016-2020) Service Manual / Body (Interior and Exterior) / Rear Door / Rear Door Trim Repair procedures
| Replacement |
|

|

| 1. |
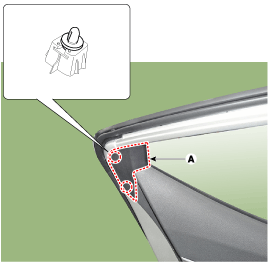
Using a screwdriver or remover, remove the rear door delta inner cover (A).
|
| 2. |
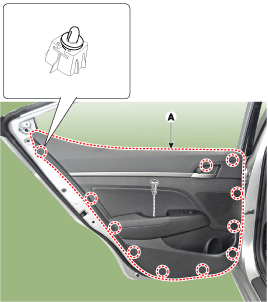
After loosening the mounting screws, remove the rear door trim (A).
|
| 3. |
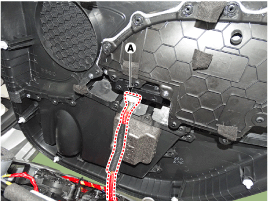
Remove the rear door inside handle cage (A).
|
| 4. |
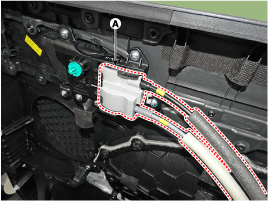
Disconnect the power window switch connector (A).
|
| 5. |
To intall, reverse the removal procedure.
|

 Rear Door Trim Components and Components Location
Component Location
1. Rear door trim
...
 Rear Door Inside Handle Repair procedures
Replacement
1.
Remove the rear door trim.
(Refer to Rear Door - "Rear Door Trim")
2.
After loosening the mounting screws, remove the rear door inside handle (A).
3.
To intall, reverse the ...
Other information:
Hyundai Elantra AD (2016-2020) Service Manual: Rear Transverse Trim Repair procedures
Replacement
•
Put on gloves to prevent hand injuries.
•
When removing with a flat-tip screwdriver or remover, wrap protective tape around the tools to prevent damage to components.
•
When removing the interior trim pieces, use a ...
Hyundai Elantra AD (2016-2020) Service Manual: Heater Unit Repair procedures
Replacement
When prying with a flat-tip screwdriver or use a prying trim
tool, wrap it with protective tape, and apply protective tape around the
related parts, to prevent damage.
1.
Disconnect the negative (-) battery terminal.
2.
Recover the refrigerant with a ...
© 2018-2026 www.helantraad.com
