Hyundai Elantra: Automatic Climate Control System / Manual Heating and Air Conditioning
The heating and cooling system can be controlled manually by pushing buttons other than the AUTO button. In this case, the system works sequentially according to the order of buttons selected.
When pressing any button except the AUTO button while using automatic operation, the functions not selected will be controlled automatically.
1. Start the engine.
2. Set the mode to the desired position. To improve the effectiveness of heating
and cooling:
- Heating: 
- Cooling: 
3. Set the temperature control to the desired position.
4. Set the air intake control to the outside (fresh) air position.
5. Set the fan speed control to the desired speed.
6. If air conditioning is desired, turn the air conditioning system on.
7. Press the AUTO button in order to convert to full automatic control of the system.
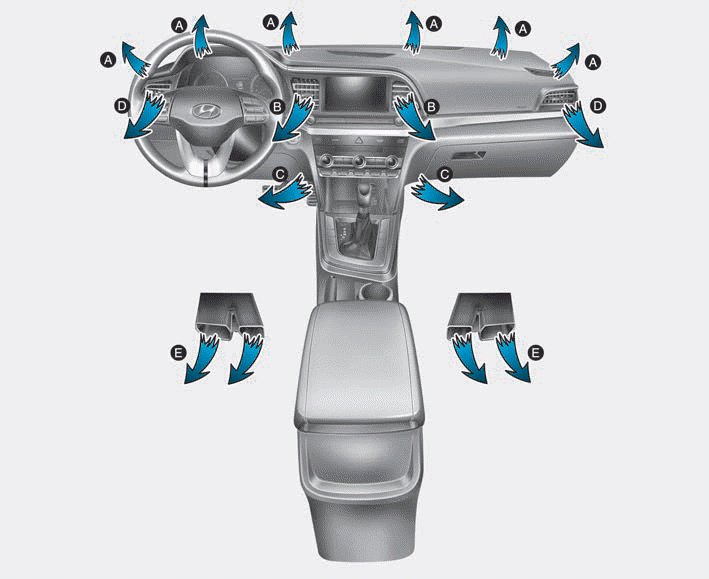
Mode selection
The mode selection button controls the direction of the air flow through the ventilation system.
The air flow outlet direction is cycled as follows:

Face-Level (B, D)

Air flow is directed toward the upper body and face. Additionally, each outlet can be controlled to direct the air discharged from the outlet.
Bi-Level (B, C, D, E)

Air flow is directed towards the face and the floor.
Floor-Level (A, C, D, E)

Most of the air flow is directed to the floor, with a small amount of the air being directed to the windshield and side window defrosters.
Floor & Defrost (A, C, D, E)

Most of the air flow is directed to the floor and the windshield with a small amount directed to the side window defrosters.
Defrost-Level (A, D)
Most of the air flow is directed to the windshield with a small amount of air directed to the side window defrosters.
Instrument panel vents
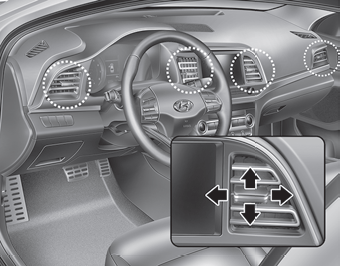
The instrument panel vent air flow can be directed up/down or left/right using the vent adjustment lever.
The air flow can also be closed using the vent adjustment lever. To close the instrument panel vents, slide the vent adjustment lever to the LEFT until it clicks.
Temperature control
Turn the knob to the right to increase the fan speed temperature and airflow. Turn the knob to the left to decrease fan temperature.
The temperature will increase or decrease by 1°F/0.5°C for each button press. When set to the lowest temperature setting, the air conditioning will operate continuously.
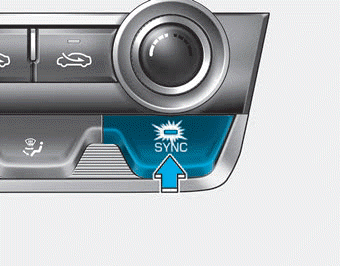
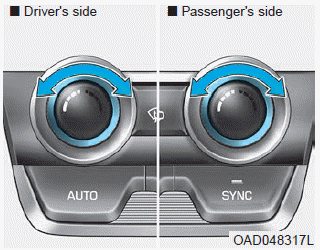
Adjusting the driver and passenger side temperature equally
- Press the "SYNC" button to operate the driver and passenger side temperature equally. The passenger side temperature will be set to the same temperature as the driver side temperature.
- Turn the left temperature control knob.The driver and passenger side temperature will be adjusted equally.
Adjusting the driver and passenger side temperature individually
Press the "SYNC" button again to operate the driver and passenger side temperature individually. The button indicator will turn off.
Temperature conversion
If the battery has been discharged or disconnected, the temperature mode display will reset to Fahrenheit.
To change the temperature unit from °F to °C or °C to °F:
- On the instrument cluster, go to User Settings Mode âžť Other Features âžť Temperature
Unit.
- Press the AUTO button for 3 seconds while pressing the OFF button. (Automatic
climate control system)
Both the temperature unit on the cluster LCD display and climate control screen will change.
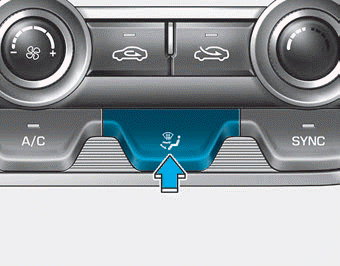
Air intake control
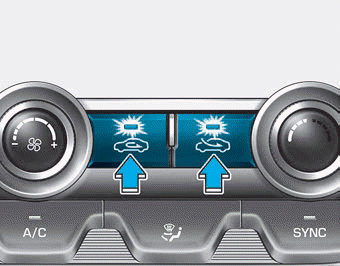
This button is used to select the outside (fresh) air position or recirculated air position.
Recirculated air position
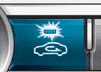
With the recirculated air position selected, air from the passenger compartment will be drawn through the heating system and heated or cooled according to the function selected.
Outside (fresh) air position
With the outside (fresh) air position selected, air enters the vehicle from outside and is heated or cooled according to the function selected.
Information
Prolonged use of the air conditioning with the recirculated air position selected will result in excessively dry air in the passenger compartment.
WARNING
- Continued use of the climate control system operation in the recirculated air position can cause drowsiness or sleepiness, that may cause loss of vehicle control resulting in an accident. Set the air intake control to the outside (fresh) air position as much as possible while driving.
- Continued use of the climate control system operation in the recirculated air position (without the air conditioning selected) may allow humidity to increase inside the vehicle which may fog the glass and obscure visibility.
- Do not sleep in a vehicle with the air conditioning or heating system on. It may cause serious injury or death due to a drop in the oxygen level and/or body temperature.
Fan speed control / Air conditioning
Fan speed control
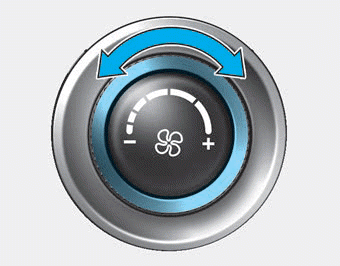
The fan speed can be set to the desired speed by turning the fan speed control knob.
The higher the fan speed is, the more air is delivered.
Pressing the OFF button turns off the fan.
Information
For better sound quality, fan speed may automatically slow down for a couple of minutes when you activate voice recognition or hands free.
Air conditioning
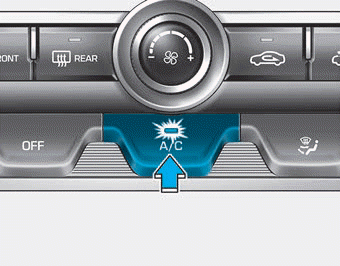
Push the A/C button to manually turn the system on (indicator light will illuminate) and off.
OFF mode
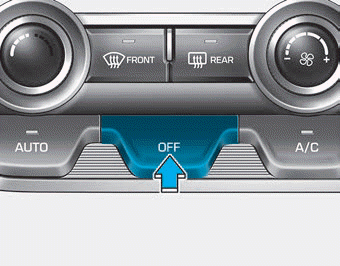
Push the OFF button of the front to turn off the air climate control system. You can still operate the mode and air intake buttons as long as the ignition switch is in the ON position.
 Automatic Heating and Air Conditioning
The Automatic Climate Control System is controlled by setting the desired temperature.
1. Press the AUTO button.
The modes, fan speeds, air intake and air-conditioning will be controlled automatic ...
Other information:
Hyundai Elantra AD (2016-2020) Owners Manual: If the Engine Will not Start
If the Engine Doesn't Turn Over or Turns Over Slowly
Be sure the shift lever is in N (Neutral) or P (Park). The engine starts
only when the shift lever is in N (Neutral) or P (Park).
Check the battery connections to be sure they are clean and tight.
Turn on the interior light. If the ...
Hyundai Elantra AD (2016-2020) Service Manual: Mode Control Actuator Specifications
Specifications
Door positionVoltage (V)Error detectingMax. cooling0.3 ± 0.15 Low voltage : 0.1V or lessMax. heating4.7 ± 0.15 High voltage : 4.9V or more
...
