Hyundai Elantra: Heater / Evaporator Core Repair procedures
| Replacement |
| 1. |
Disconnect the negative (-) battery terminal. |
| 2. |
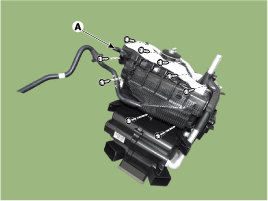
Remove the heater and blower assembly.
(Refer to Heater - "Heater Unit") |
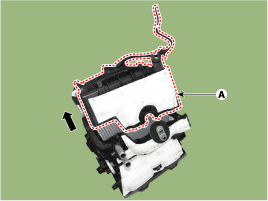
| 3. |
Remove the heater unit lower case (A) after loosening the mounting screws.
|
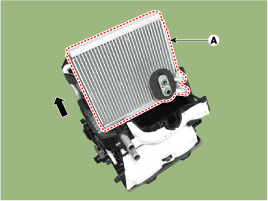
| 4. |
Pull out the evaporator core (A) from the heater unit.
|
| 5. |
To intall, reverse the removal procedure.
|
 PTC Heater Repair procedures
Inspection
Operating Logic Test (Manual only)
Inspect the PTC operation by confirmation logic as follows.
1.
Entering
(1)
Set the Floor mode and maximum heating position.
(2)
Turn off the ...
 Temperature Control Actuator Components and Components Location
Components Location
1. Temperature control actuator [LH]2. Temperature control actuator [RH]
...
Other information:
Hyundai Elantra AD (2016-2020) Owners Manual: Components of the Tire Mobility Kit
1. Speed-restriction label
2. Sealant bottle and label with speed restriction
3. Filling hose from sealant bottle to wheel
4. Connectors and cable for the power outlet direct connection
5. Holder for the sealant bottle
6. Compressor
7. ON/OFF switch
8. Pressure gauge for displaying the tire ...
Hyundai Elantra AD (2016-2020) Service Manual: Multimedia Jack Repair procedures
Removal
1.
Disconnect the battery (-) terminals.
2.
Remove the floor console assembly.
(Refer to Body - "Floor Console Assembly")
3.
Remove the multimedia jack (A) from the console under cover after releasing the fixed hooks (B).
Installation
1.
Connect the multimedia jack connecto ...
