Hyundai Elantra: Automatic Transaxle Control System / Transaxle Oil Temperature Sensor Repair procedures
Hyundai Elantra AD (2016-2020) Service Manual / Automatic Transaxle System / Automatic Transaxle Control System / Transaxle Oil Temperature Sensor Repair procedures
| Inspection |
| 1. |
Turn ignition switch OFF. |
| 2. |
Remove the battery and battery tray. |
| 3. |
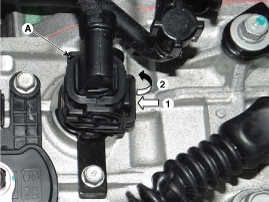
Disconnect the solenoid valve connector (A).
|
| 4. |
Measure resistance between sensor signal terminal and sensor ground terminal. |
| 5. |
Check that the resistance is within the specification.
|
| Removal |
| 1. |
Remove the air cleaner assembly and air duct.
(Refer to Engine Mechanical System - "Air cleaner") |
| 2. |
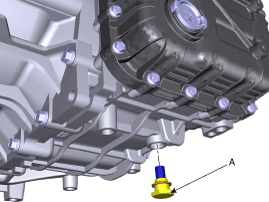
Remove the drain plug (A) and drain the ATF totally and then reinstall the drain plug.
|
| 3. |
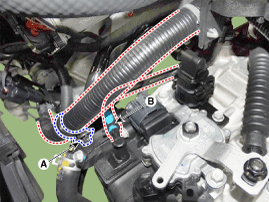
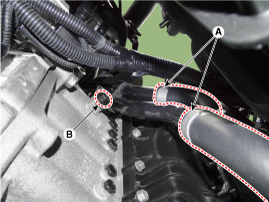
Remove the wiring mounting clip (A). |
| 4. |
Disconnect the air breather hose (B) from the valve body cover.
|
| 5. |
Disconnect the hose (A) after removing the automatic transaxle fluid cooler hose clamp.
|
| 6. |
Disconnect the ATF warmer hose (A). |
| 7. |
Remove the mounting bolt of the heater pipe.
|
| 8. |
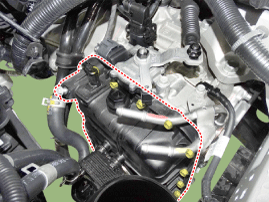
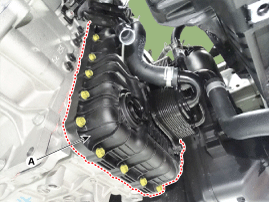
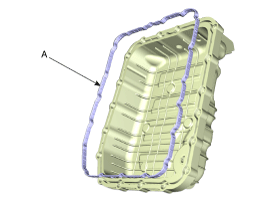
Remove the valve body cover (A).
|
| 9. |
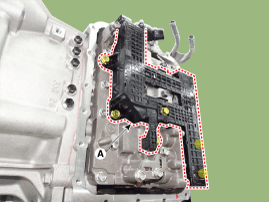
Disconnect the oil temperature sensor and solenoid valve connector (A) from the valve body.
|
| 10. |
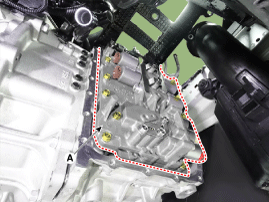
Remove the valve body assembly (A).
|
| 11. |
Disconnect the input & output speed sensor connector (A).
|
| 12. |
Loosen the main connctor bolt (B).
|
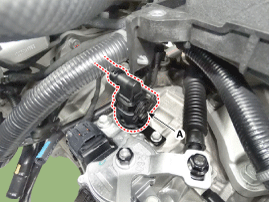
| 13. |
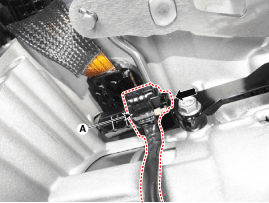
Disconnect the solenoid valve connector (A).
|
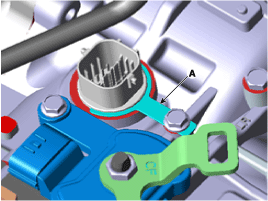
| 14. |
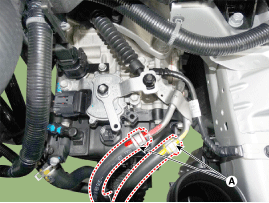
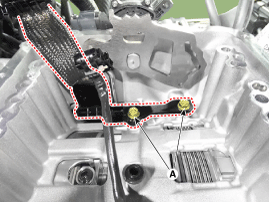
Remove the solenoid valve connector mounting clip (A).
|
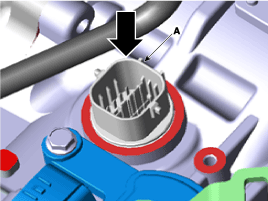
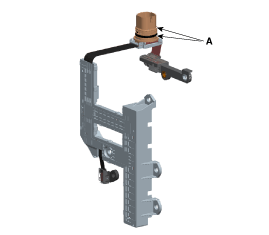
| 15. |
Remove the solenoid valve connector (A) by pushing down from the transaxle.
|
| Installation |
| 1. |
To install, reverse the removal procedure. |
| 2. |
Check fluid level, after filling the automatic transaxle with fluid.
(Refer to Hydraulic System - "Fluid") |
 Transaxle Oil Temperature Sensor Schematic Diagrams
Circuit Diagram
...
 Input Speed Sensor Description and Operation
Description
Input speed sensor is a vital unit that measures the rate of
rotation of the input shaft inside the transaxle and delivers the
readings to the TCM. The sensor provides critical inpu ...
Other information:
Hyundai Elantra AD (2016-2020) Service Manual: Line Pressure Control Solenoid Valve Components and Components Location
Components Location
1. 26 Brake Control Solenoid Valve (26/B)2. 35R Clutch Control Solenoid Valve (35R/C)3. Underdrive Brake Control Solenoid Valve (UD/B)4. Overdrive Clutch Control Solenoid Valve (OD/C)5. SS-A Solenoid Valve (ON/OFF)6. Torque Converter Control Solenoid Valve (T/CON)7. Line Pre ...
Hyundai Elantra AD (2016-2020) Service Manual: Components and Components Location
Components
1. Blind Spot Detection (BSD) Unit2. BSD switch3. Speaker4. BSD warning lamp5. Cluster
...
© 2018-2026 www.helantraad.com

