Hyundai Elantra: Rear Suspension System / Rear Torsion Beam Axle Repair procedures
Hyundai Elantra AD (2016-2020) Service Manual / Suspension System / Rear Suspension System / Rear Torsion Beam Axle Repair procedures
| Removal |
| [Disc type] |
| 1. |
Loosen the wheel nuts slightly. |
| 2. |
Raise the vehicle, and make sure it is securely supported. |
| 3. |
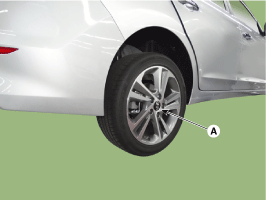
Remove the rear wheel and tire (A) from front hub.
|

| 4. |
Remove the brake caliper from the torsion beam axle.
(Refer to Brake System - "Rear Disc Brake") |
| 5. |
Remove the rear hub assembly.
(Refer to Dirveshaft and axle - "Rear Axle assembly") |
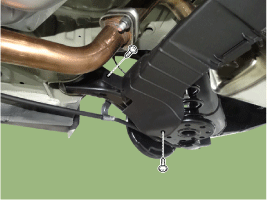
| 6. |
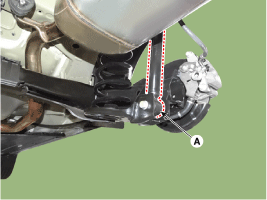
Loosen the bolt & nut and then remove the rear shock absorber (A) from the torsion beam axle.
|
| 7. |
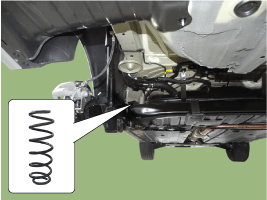
Remove the coil spring.
|
| 8. |
Remove the rear torsion beam axle cover.
|
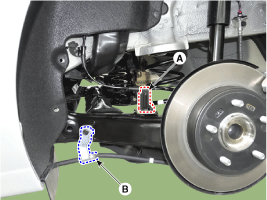
| 9. |
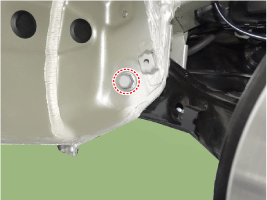
Loosen the mounting bolt and then remove the wheel speed sensor cable bracket (A) and parking brake cable bracket (B).
|
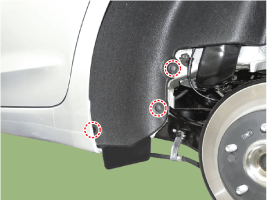
| 10. |
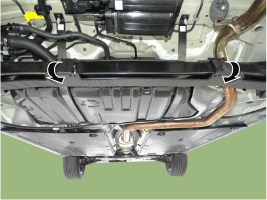
Remove the fixed clip and then lift up the wheel housing.
|
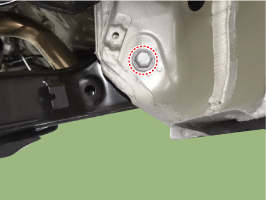
| 11. |
Loosen the mounting bolt and then remove the torsion beam axle.
[RH]
[LH]
|
| 12. |
To install, reverse the removal procedure. |
| 13. |
Check the front alignment.
(Refer to Suspension System - "Front Alignment") |
 Rear Torsion Beam Axle Components and Components Location
Components (1)
1. Torsion beam axle2. Torsion beam axle cover
...
 Tires/Wheels
...
Other information:
Hyundai Elantra AD (2016-2020) Service Manual: Schematic Diagrams
Trouble Symptom Charts
Component Parts And Function Outline
Component partFunctionCruise Control SwitchInput the set speed and distance to the SCC ECU.Instrument ClusterDisplay various information inputted from SCC.Smart Cruise Control UnitRecognize and track the vehicle ahead.Calculate the targ ...
Hyundai Elantra AD (2016-2020) Owners Manual: Tire Pressure Monitoring System (TPMS)
â– Supervision cluster
(1) Low Tire Pressure / TPMS Malfunction Indicator Lamp
(2) Low Tire Pressure / Tire Pressure Monitor / TPMS Malfunction Display (shown
on the cluster LCD display) ...
© 2018-2025 www.helantraad.com
