Hyundai Elantra: Front Axle Assembly / Front Hub / Knuckle Repair procedures
Hyundai Elantra AD (2016-2020) Service Manual / Driveshaft and axle / Front Axle Assembly / Front Hub / Knuckle Repair procedures
| Removal |
| 1. |
Loosen the wheel nuts slightly.
Raise the vehicle, and make sure it is securely supported. |
| 2. |
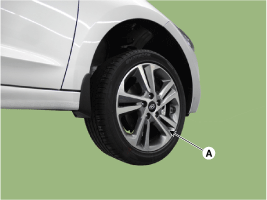
Remove the front wheel and tire (A) from the front hub.
|
| 3. |
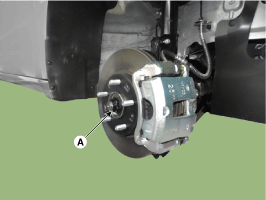
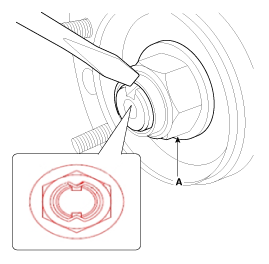
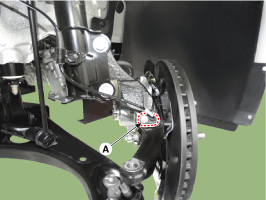
Loosen the driveshaft caulking nut (A).
|
| 4. |
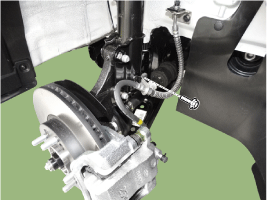
Loosen the brake hose mounting bolt and then remove the brake hose bracket.
|
| 5. |
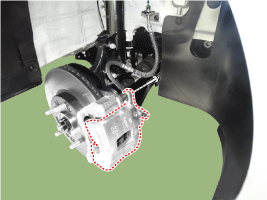
Put down the caliper body by loosening the guided rod bolt.
|
| 6. |
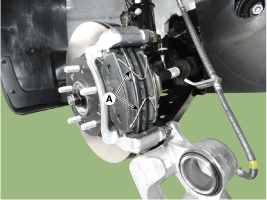
Remove the pad return spring (A).
|
| 7. |
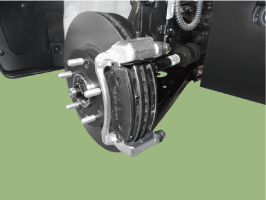
Remove the brake pad.
|
| 8. |
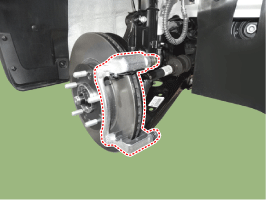
Separate the pad retainer. And remove the caliper carrier by loosening the caliper mounting bolts.
|
| 9. |
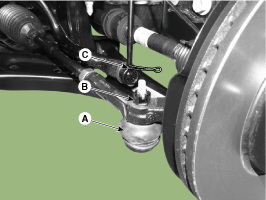
Remove the tie rod end ball joint.
|
| 10. |
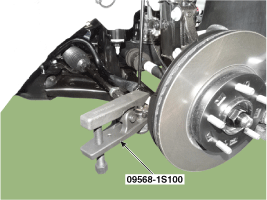
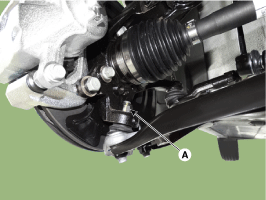
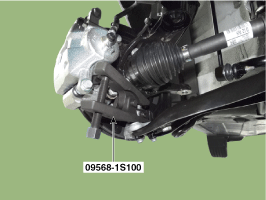
Loosen the lower arm nut (A) and then remove the lower arm ball joint by using SST(09568-1S100).
|
| 11. |
Loosen the bolt and then remove the wheel speed sensor (A).
|
| 12. |
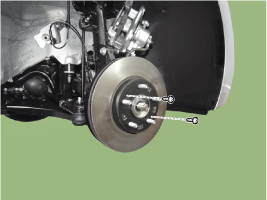
Loosen the screw and the remove the front disc.
|
| 13. |
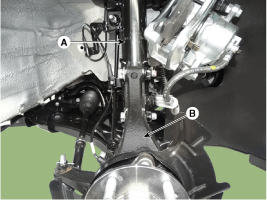
Loosen the strut mounting bolts (A), nuts (B) and then remove the knuckle assembly (A).
|
| 14. |
To install, reverse the removal procedure |
| 15. |
Check the alignment.
(Refer to Suspension System - "Alingment") |
| Disaasembly |
| 1. |
To reassembly, reverse the disassembly procedure.
|
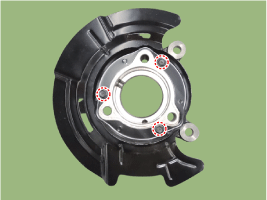
| 2. |
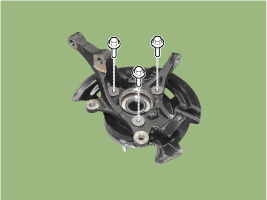
Loosen the mounting bolts and then remova the dust cover.
|
| 3. |
Reassembly in the reverse order of disassembly. |
 Front Hub / Knuckle Components and Components Location
Components
1. Brake disc2. Hub bearing3. Dust cover4. Knuckle
...
Other information:
Hyundai Elantra AD (2016-2020) Service Manual: Components and Components Location
Component Location
[Engine Room]
1. Engine room junction block
[Interior Relay]
1. Smart junction block (SJB)
...
Hyundai Elantra AD (2016-2020) Service Manual: Front Seat Shield Inner Cover Repair procedures
Replacement
•
Put on gloves to prevent hand injuries.
•
When removing with a flat-tip screwdriver or remover, wrap protective tape around the tools to prevent damage to components.
•
Use a plastic panel removal tool to remove int ...
© 2018-2025 www.helantraad.com

