Hyundai Elantra: Fuses And Relays / Relay Box (Passenger Compartment) Repair procedures
Hyundai Elantra AD (2016-2020) Service Manual / Body Electrical System / Fuses And Relays / Relay Box (Passenger Compartment) Repair procedures
| Fuse Inspection |
| 1. |
Be sure there is no play in the fuse holders, and that the fuses are held securely. |
| 2. |
Are the fuse capacities for each circuit correct? |
| 3. |
Are there any blown fuses?
|

| Diagnosis with GDS |
| 1. |
The body electrocal system can be quickly diagnosed failed parts with vehicle diagnostic system (GDS).
The diagnostic system (GDS) provides the following information.
|
| 2. |
Select the "Car Model" and the system to be checked in order to check the vehicle with the tester. |
| 3. |
Select the "Smart Junction Block (SJB)". |
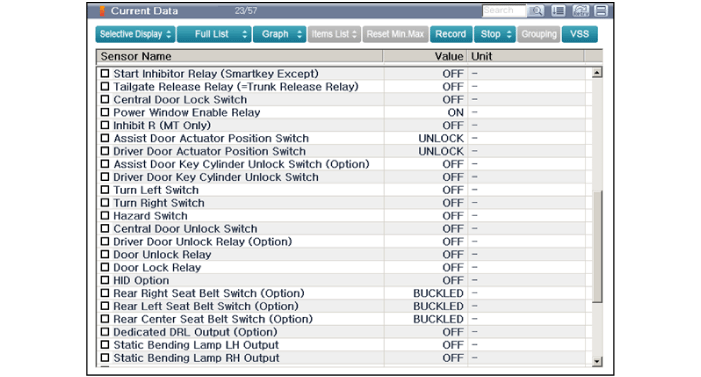
| 4. |
Select the "Current Data" menu to search the current state of the input/output data.
The input/output data for the sensors corresponding to the Smart Junction Block (SJB) can be checked.
|
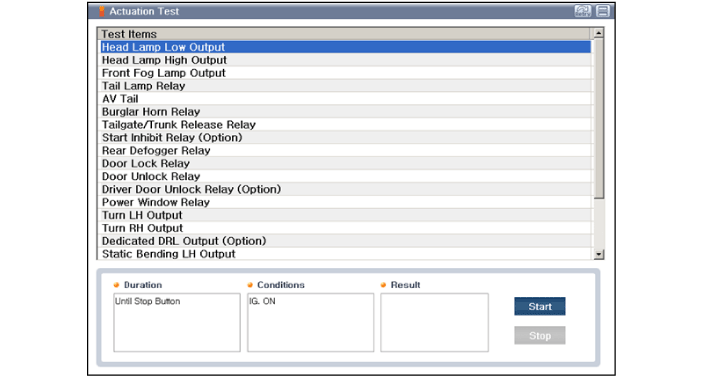
| 5. |
If you will check the power door lock operation forcefully, select "Actuation Test".
|
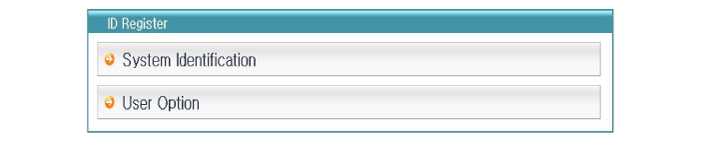
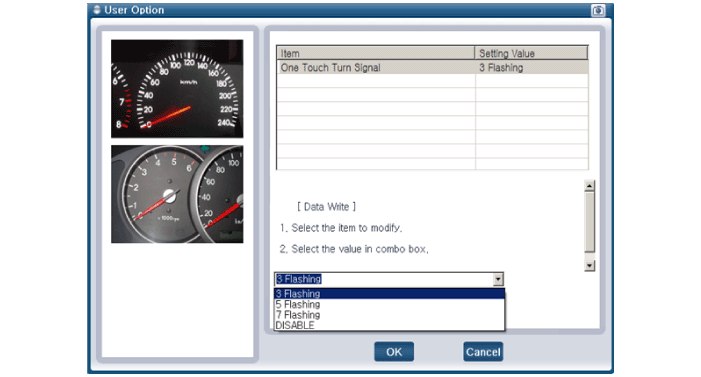
| 6. |
If you want to change user option, select "User Option".
|
| Removal |
| 1. |
Disconnect the negative (-) battery terminal. |
| 2. |
Remove the crash pad lower panel.
(Refer to Body - "Crash Pad Lower Panel") |
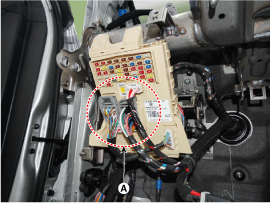
| 3. |
Disconnect the connectors (A) from the fuse side of the SJB.
|
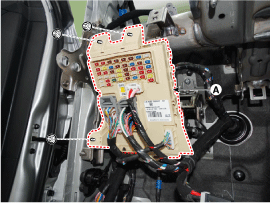
| 4. |
Remove the SJB (A) after loosening the mounting nuts.
|
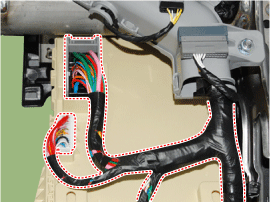
| 5. |
Disconnect the connectors from the back side of the SJB.
|
| Installation |
| 1. |
Install the smart junction box. |
| 2. |
Install the crash pad lower panel. |
| 3. |
Connect the negative (-) battery terminal. |
| 4. |
Check that all system operates normally. |
 Relay Box (Passenger Compartment) Description and Operation
Description
Auto Cut System of Dark Current
AbbreviationExpalnationACUAirbag Control UnitADMAssist Door ModuleB_CANBody Controller Area NetworkBCMBody Control ModuleBSDBlind Spot DetectionC_CANC ...

Other information:
Hyundai Elantra AD (2016-2020) Service Manual: Fuel Pressure Regulator Repair procedures
Removal
1.
Remove the fuel pump.
(Refer to Fuel Delivery System - "Fuel Pump")
2.
Disconnect the electric pump wiring connector (A) and the fuel sender connector (B).
3.
Remove the head assembly (A) after releasing the cushion fixing hooks.
4.
Disconnect the fuel tube quick-connec ...
Hyundai Elantra AD (2016-2020) Service Manual: Alternator Components and Components Location
Components
1. OAD (Overrunning Alternator Decoupler) 2. Front Bracket3. Front Bearing4. Stator5. Rotor6. Rear Bearing7. Rear Bracket8. Brush Holder Assembly9. Through Bolt10. Rectifier Assembly11. Rear Cover
...
© 2018-2026 www.helantraad.com
