Hyundai Elantra: Body (Interior and Exterior) / Fender
Components and Components Location
| Component Location |
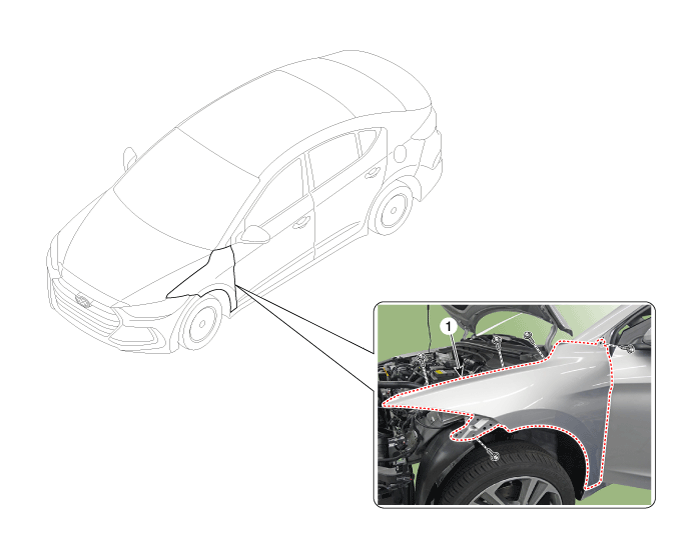
| 1. Fender assembly |
Repair procedures
| Replacement |
|

|

| 1. |
Remove the front bumper.
(Refer to Front Bumper - "Front Bumper Cover") |
| 2. |
Remove the head lamps.
(Refer to Body Electrical System - "Head Lamps") |
| 3. |
Loosen the front wheel guard mounting screws and pin-type retainers. |
| 4. |
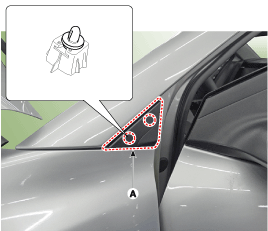
Using a screwdriver or remover, remove the delta garnish (A).
|
| 5. |
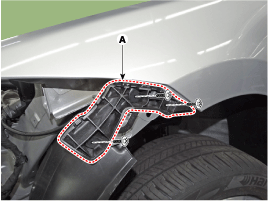
Remove the front bumper side mounthing bracket (A) after loosening the bolts.
|
| 6. |
Loosen the mounting clips and remove the insulator cover (A).
|

| 7. |
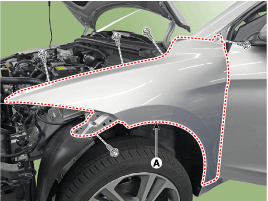
After loosening the mounting bolts, remove the fender assembly (A).
|
| 8. |
To intall, reverse the removal procedure.
|
 Cross Member Body Repair
Front Cross Member
* These dimensions indicated in this figure are actual-measurement dimensions. [ Unit : mm (inch) ]
Rear Cross Member
* These dimensions indicated in this figure are actu ...
Other information:
Hyundai Elantra AD (2016-2020) Service Manual: SRS Control Module (SRSCM) Components and Components Location
Components
1. Supplemental Restraint System Control Module (SRSCM)
Supplemental Restraint System Control Module (SRSCM)
NoConnector AConnector B1IGN 1Ground2Driver front impact sensor - High (+)Driver seat belt pretensioner - High (+)3Driver front impact sensor - Low (-)Driver seat belt p ...
Hyundai Elantra AD (2016-2020) Service Manual: Steering wheel
Components and Components Location
Components
1. Driver airbag module(DAB)2. Remote contorl switch3. wiring4. Steering wheel5. Lower cover
Repair procedures
Removal
1.
Disconnect the battery negative cable from the battery and then wait for at least 30 seconds.
2.
Turn the steering w ...
