Hyundai Elantra: Brake System / Stop Lamp Switch Repair procedures
| Adjustment |
| 1. |
Turn ignition switch OFF and disconnect the negative (-) battery cable. |
| 2. |
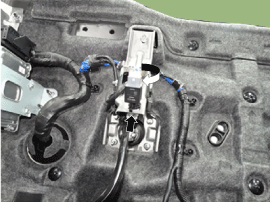
Remove the lower crash pad.
(Refer to Body - "Crash Pad") |
| 3. |
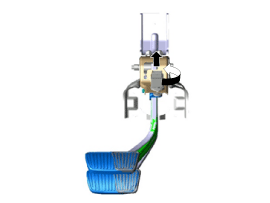
Confirm the gap between stop lamp switch and bracket.
|

| 4. |
If the gap between stop lamp switch and bracket is not
1.0~2.0mm(0.04~0.08in), check the mounting clip and other part of around
stop lamp. |
| 5. |
If there is normal, remove the stop lamp switch and then install again. |
| Inspection |
| 1. |
Analyze GDS data and confirm if there is anything wrong with the stop lamp switch.
|

| Removal |
| 1. |
Turn ignition switch OFF and disconnect the negative (-) battery cable. |
| 2. |
Remove the lower crash pad.
(Refer to Body - "Crash Pad") |
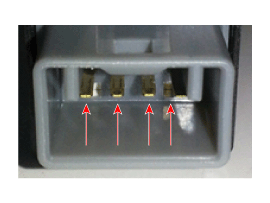
| 3. |
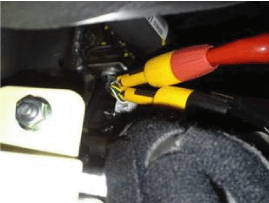
Disconnect the stop lamp switch connector (A).
|

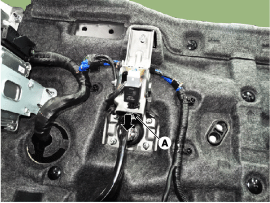
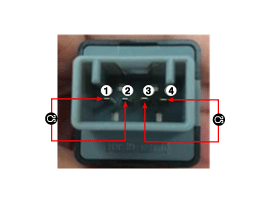
| 4. |
Pull the locking plate (A) as indicated by the arrow.
|
| 5. |
Turn stop lamp switch 45° counterclockwise and remove it.
|
| 6. |
Inspect a removed stop lamp switch along the below procedures.
|
| Installation |
| 1. |
Fix the brake pedal arm and insert fully the stop lamp switch as hiding contact part.
|
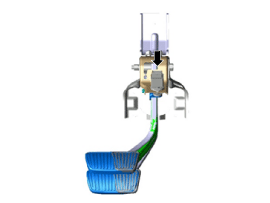
| 2. |
After inserting, turn the stop switch (A) 45° clockwise, and then assemble locking plate by pushing.
|
| 3. |
Confirm the gap between stop lamp switch and bracket.
|

| 4. |
Connect the stop lamp switch connector. |
| 5. |
Install the lower crash pad.
(Refer to Body - "Crash Pad") |
 Stop Lamp Switch Troubleshooting
Troubleshooting
1.
Part diagnosis
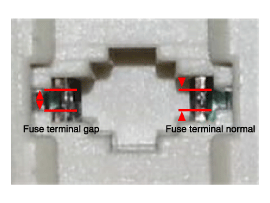
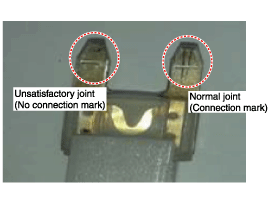
Items Cause Symptom Switch fuse Faulty fuse connection, Damaged fuse
-
DTC Code : P0504
-
Symptom : Shifting gear trouble, Starting failure ...

Other information:
Hyundai Elantra AD (2016-2020) Service Manual: Heater & A/C Control Unit (DATC) Repair procedures
Self Diagnosis
1.
Self-diagnosis process.
•
When operating the self-diagnostics, the below fault
(self-diagnostics code) will blink at 0.5 seconds interval on the
temperature display settings (driver's side only) and the remaining
symbols are OFF .
2.
Fa ...
Hyundai Elantra AD (2016-2020) Service Manual: Fuel Pump Repair procedures
Removal
1.
Release the residual pressure in fuel line.
(Refer to Fuel Delivery System - "Release Residual Pressure in Fuel Line")
2.
Remove the rear seat.
(Refer to Body - "Rear Seat Assembly")
3.
Remove the fuel pump service cover (A).
4.
Disconnect the fuel pump connector (A) a ...
